Photo Correction: b/w, scratches & red-eye - Media 201 week 2

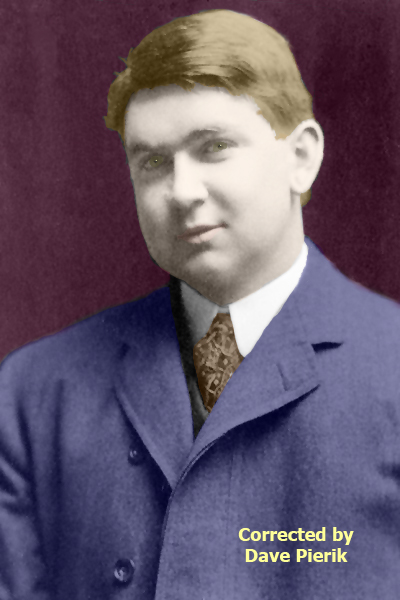

Scratched b/w man - before & after:
Before I colorized the scratched-up b/w photo of the man, I cleaned up the scratches with the clone stamp tool, applied Filter > Noise > Despeckle and also the lasso tool with content aware in a few spots. After a few more adjustments in curves I was satisfied with the cleaned-up b/w image. After that I added the colors one layer at a time with the lasso selection tool, the paint bucket and the opacity setting in the layers panel. I did some cleanup with the brush tool and also the smudge tool. If you look close you can see that the eyes are a different shade of brown than the hair or the tie, I darkened the pupils and added highlights, added some pink for the lips. Overall it did not take that long.
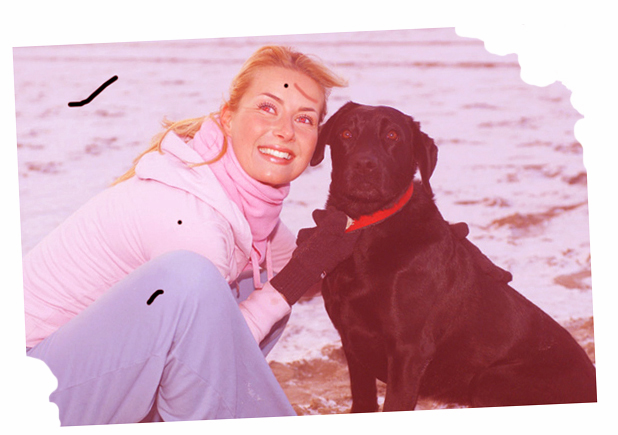
Scratched, tilted, torn red-eyed girl & dog - before & after:
For the girl and dog I used the instructions from Adobe Photoshop CS6 Classroom In A Book for the red eye tool, which was very helpful. If you're doing this, the trick is not to have the marquee too big or you will give her black eyes! I applied those corrections only after straightening and the photo, cleaning up the scratches, filling in the corners, and correcting the color. I went back a second, then a third time with the dog, because at first I was thinking the natural original color of his eyes was orange to brown and would look like red eye, maybe just being close to that. Then I took a good look at the eye color of our family dog and his eyes are almost totally black so I went with that.
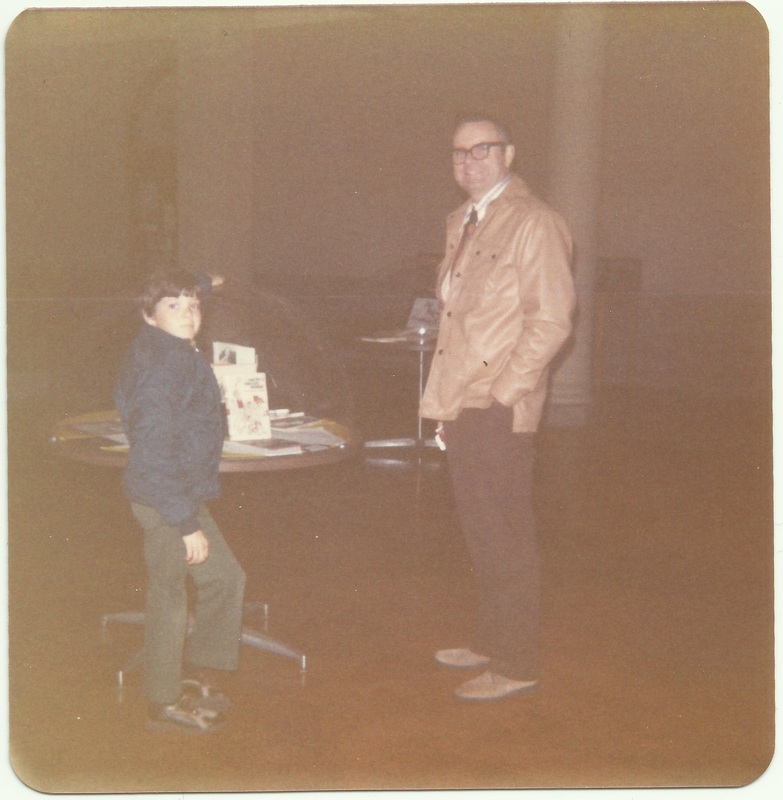
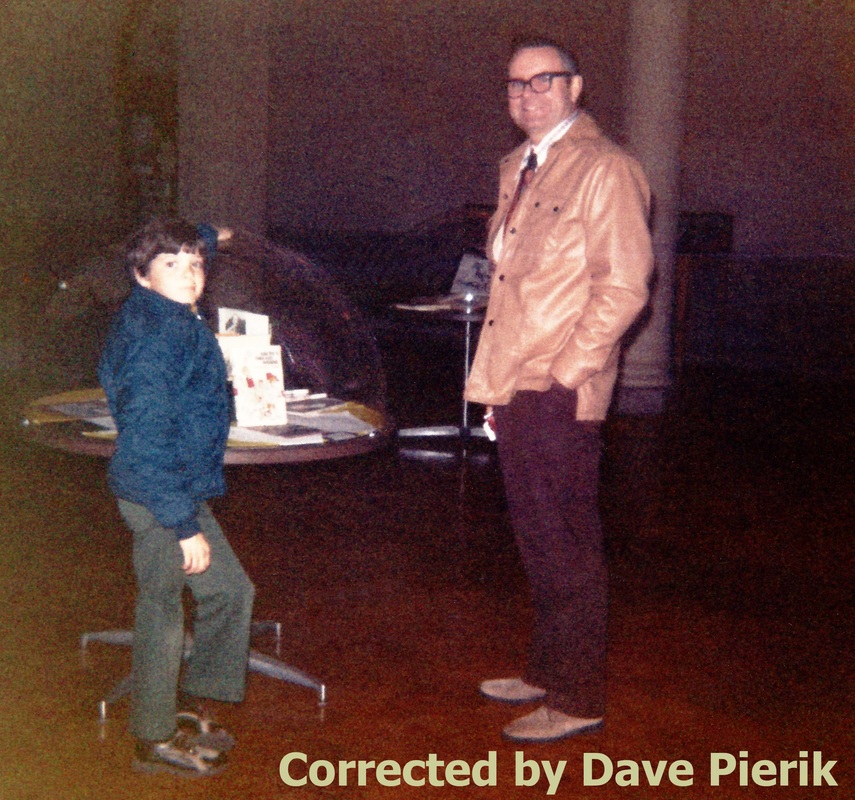
Dad's book signing - before & after:
I used techniques from several tutorials on this one, but no layers this time. The original was very faded so this was a bit of a challenge. I mostly used curves (several times) and the clone stamp and I considered and dismissed using one or more of the artistic filters. That's me on the left, I was probably about 10 years old, maybe younger (the photo has no date on it). My dad is Robert Vincent Pierik, author of Archie's Dream World (the book under the plexiglass on the table) which did okay on the grade school library circuit in the '70s. By the '80s I remember him getting royalty checks in the mail for small amounts like $4.95, and being very excited about that. But being a published author - at all - is a big deal and to this day I am humbled by his accomplishments, including writing several children's plays and novels including Rookfleas in the Cellar and the Sci-Fi novelette The Left-Handed Boy. He taught drama as well as English and was an acting teacher for Walter Koening (Pavel Checkov in the original Star Trek and Alfred Bester in Babylon 5). Dad told me when Walter first got the part he came back to Arcadia H.S. to visit him and said something like "Hi Mr. Pierik, I thought you should know I found some work, It's just small part and I only got it because I could do a Russian accent. It's a television show called Star Trek and it probably won't amount to much." Oh the brushes with greatness! Anyway I'm glad to be developing the skills to restore photos like this. I think with a bit more time, instruction and practice I will be able to get better results more quickly but I'm happy with my progress so far.
Notes:
For the top two images I chose not to post additional middle stages here. What you don't see are the cleaned-up b/w version of the man, and a version of the girl and dog with different color corrections. I have several variations of corrections of each of these, including a version of my colorized man that started from the above but then went through curves and other adjustments. In the end I decided it didn't really look better to me. The tutorial below gave me some good ideas that I tried on the girl and dog using multiple layers to get more out of the color. In the end though the way I did it darkened the dog too much.
Before I colorized the scratched-up b/w photo of the man, I cleaned up the scratches with the clone stamp tool, applied Filter > Noise > Despeckle and also the lasso tool with content aware in a few spots. After a few more adjustments in curves I was satisfied with the cleaned-up b/w image. After that I added the colors one layer at a time with the lasso selection tool, the paint bucket and the opacity setting in the layers panel. I did some cleanup with the brush tool and also the smudge tool. If you look close you can see that the eyes are a different shade of brown than the hair or the tie, I darkened the pupils and added highlights, added some pink for the lips. Overall it did not take that long.
Scratched, tilted, torn red-eyed girl & dog - before & after:
For the girl and dog I used the instructions from Adobe Photoshop CS6 Classroom In A Book for the red eye tool, which was very helpful. If you're doing this, the trick is not to have the marquee too big or you will give her black eyes! I applied those corrections only after straightening and the photo, cleaning up the scratches, filling in the corners, and correcting the color. I went back a second, then a third time with the dog, because at first I was thinking the natural original color of his eyes was orange to brown and would look like red eye, maybe just being close to that. Then I took a good look at the eye color of our family dog and his eyes are almost totally black so I went with that.
Dad's book signing - before & after:
I used techniques from several tutorials on this one, but no layers this time. The original was very faded so this was a bit of a challenge. I mostly used curves (several times) and the clone stamp and I considered and dismissed using one or more of the artistic filters. That's me on the left, I was probably about 10 years old, maybe younger (the photo has no date on it). My dad is Robert Vincent Pierik, author of Archie's Dream World (the book under the plexiglass on the table) which did okay on the grade school library circuit in the '70s. By the '80s I remember him getting royalty checks in the mail for small amounts like $4.95, and being very excited about that. But being a published author - at all - is a big deal and to this day I am humbled by his accomplishments, including writing several children's plays and novels including Rookfleas in the Cellar and the Sci-Fi novelette The Left-Handed Boy. He taught drama as well as English and was an acting teacher for Walter Koening (Pavel Checkov in the original Star Trek and Alfred Bester in Babylon 5). Dad told me when Walter first got the part he came back to Arcadia H.S. to visit him and said something like "Hi Mr. Pierik, I thought you should know I found some work, It's just small part and I only got it because I could do a Russian accent. It's a television show called Star Trek and it probably won't amount to much." Oh the brushes with greatness! Anyway I'm glad to be developing the skills to restore photos like this. I think with a bit more time, instruction and practice I will be able to get better results more quickly but I'm happy with my progress so far.
Notes:
For the top two images I chose not to post additional middle stages here. What you don't see are the cleaned-up b/w version of the man, and a version of the girl and dog with different color corrections. I have several variations of corrections of each of these, including a version of my colorized man that started from the above but then went through curves and other adjustments. In the end I decided it didn't really look better to me. The tutorial below gave me some good ideas that I tried on the girl and dog using multiple layers to get more out of the color. In the end though the way I did it darkened the dog too much.
Tutorial: http://www.republicofcode.com/tutorials/photoshop/retouch/
This tutorial caught my eye because of the before and after photo. Using multiple copies of your image with layers and layer blending modes, it is possible to really fill out the color profile of an image. After color correcting the girl and the dog the first time, I saved my image, then brought my corrected photo through the steps of this tutorial. When I compared the two images, I liked mine a bit better because the dog got too dark and I lost some detail. I learned some new tricks though that I will definitely use in the future. I think with a few minor adjustments these ideas could get a more pro look out of many basic photos. --Dave
http://www.republicofcode.com/tutorials/photoshop/retouch/
http://www.republicofcode.com/tutorials/photoshop/retouch/

Media 201, Digital Image Editing with Photoshop, Peninsula College. Instructor: Kathy Davies.
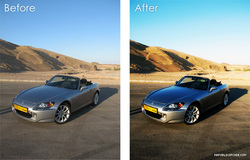
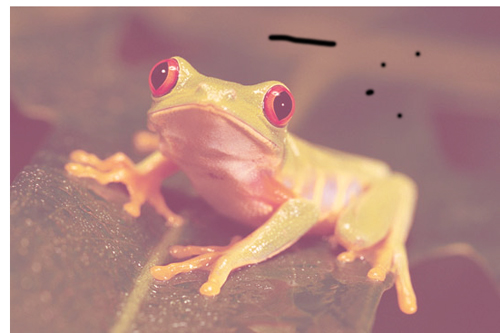
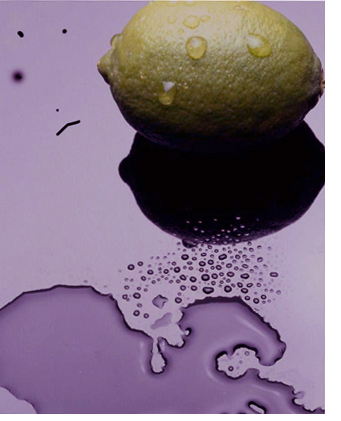
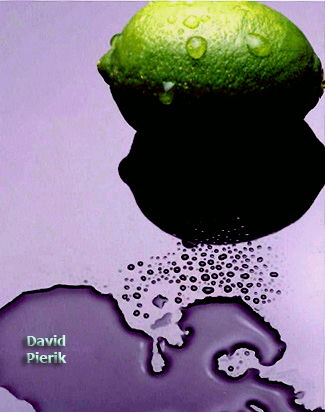
Week 1 assignment January 4, 2012. Top: frog before, frog after. Below: lime before, lime after.
Photos adjusted by David Pierik using Photoshop CS6.
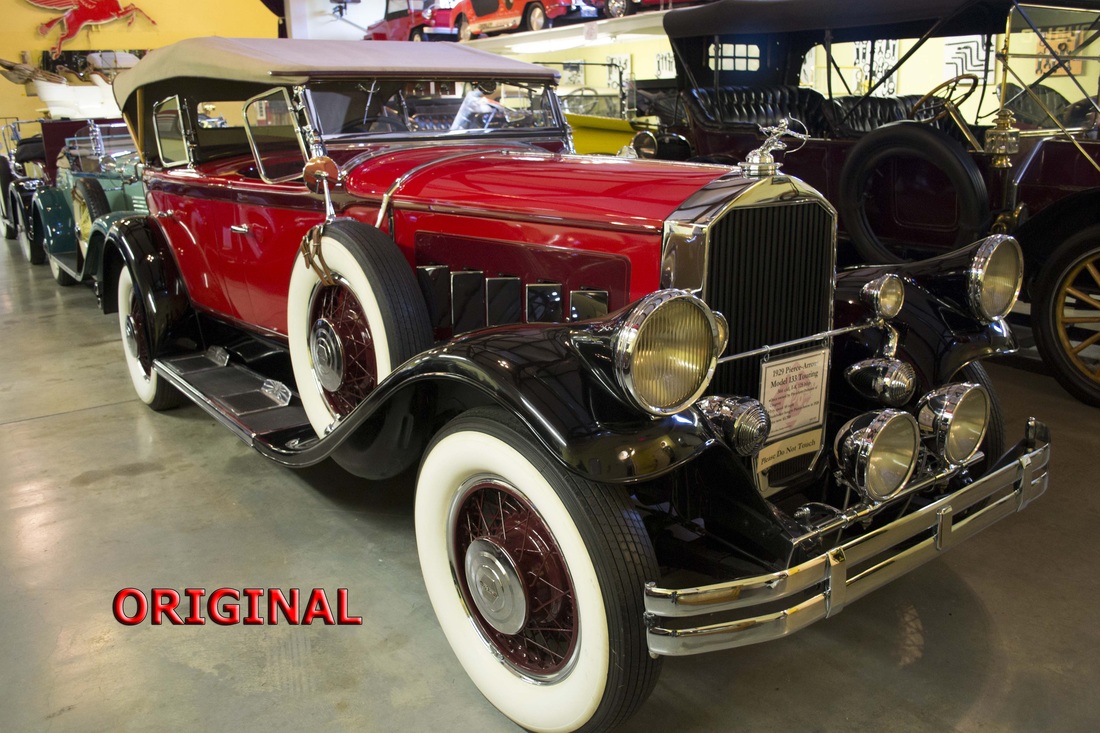
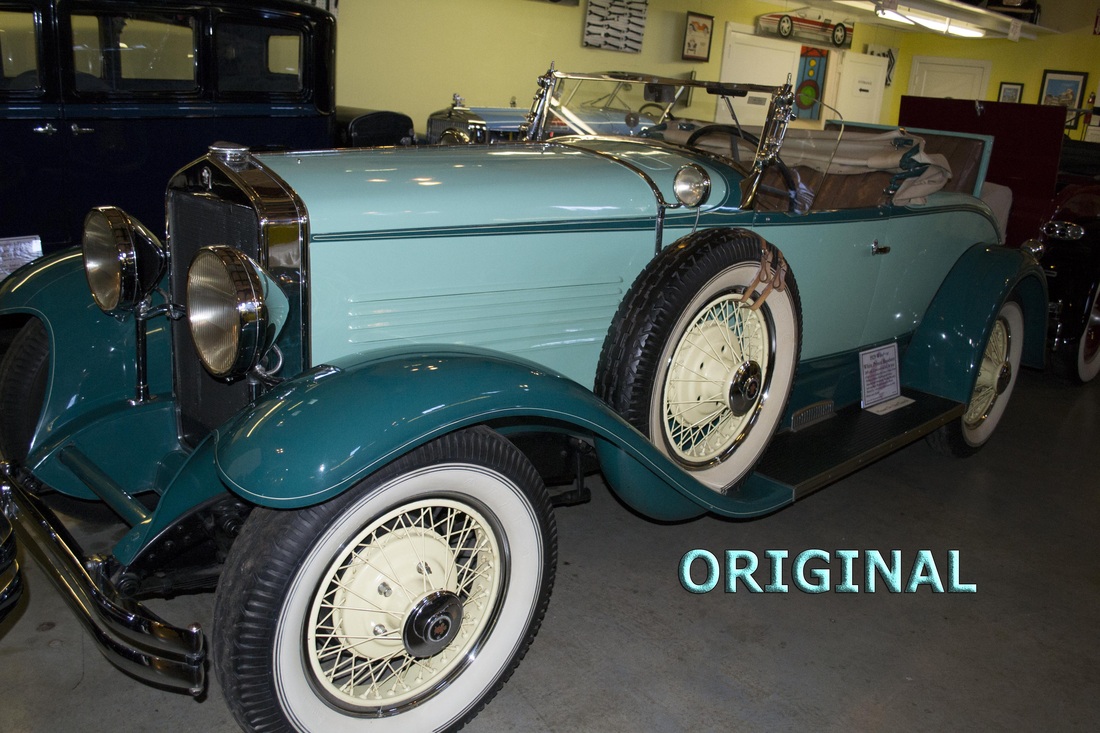
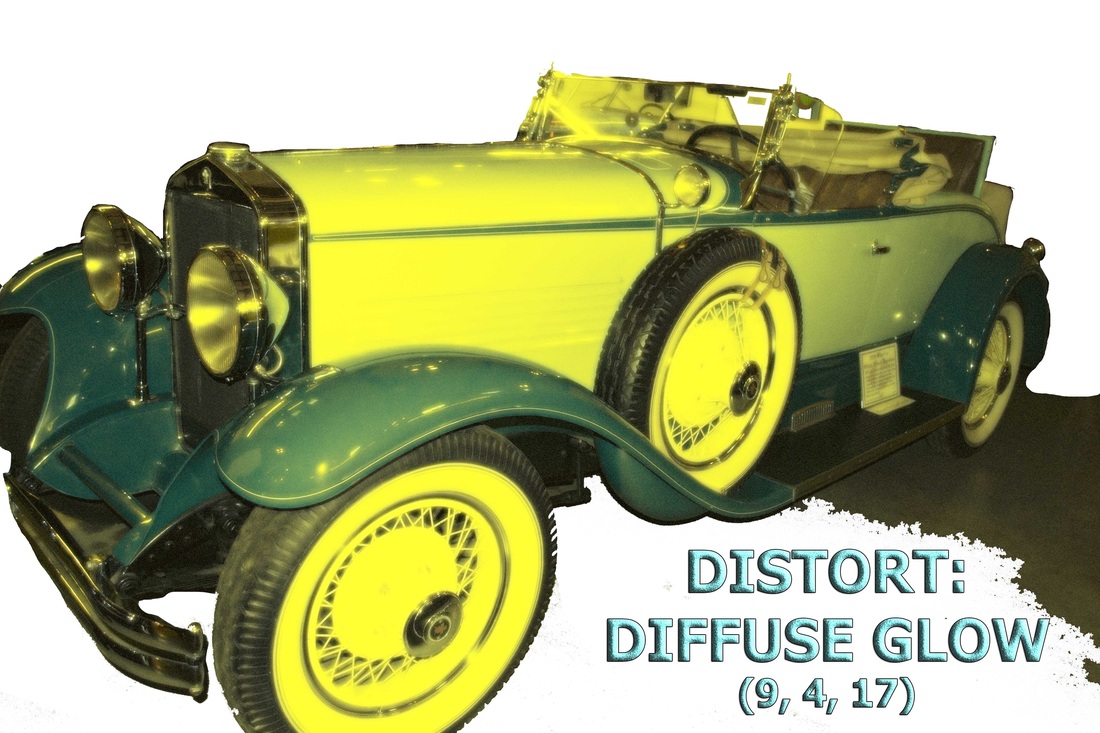
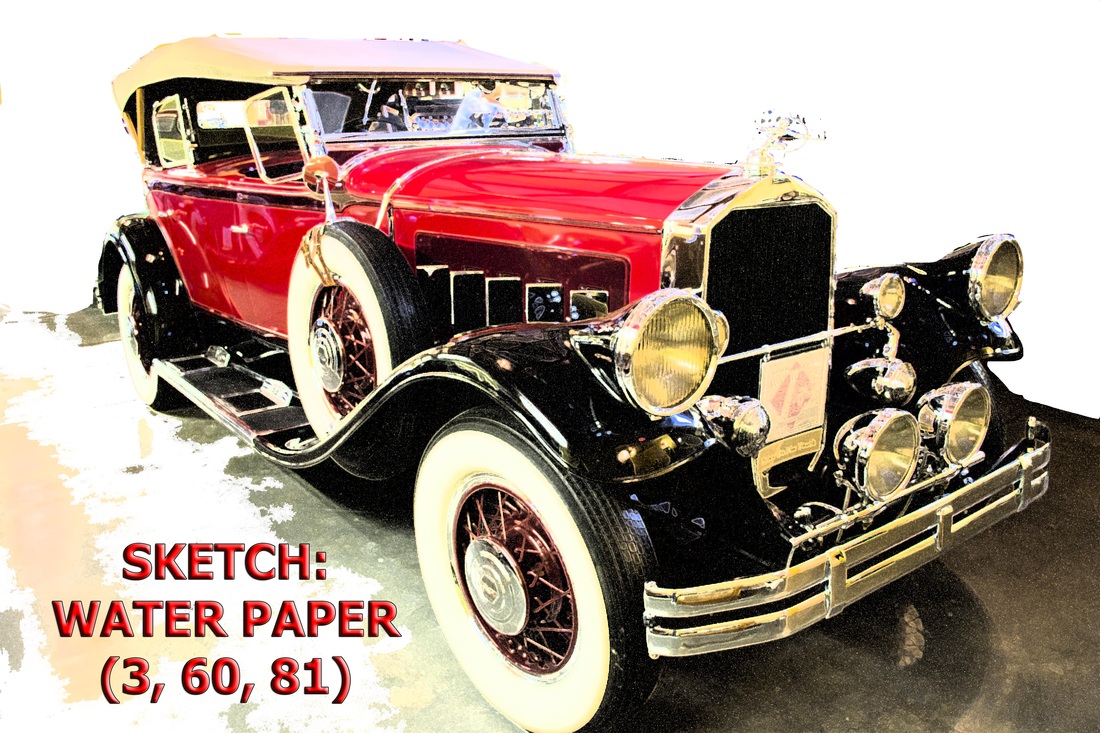
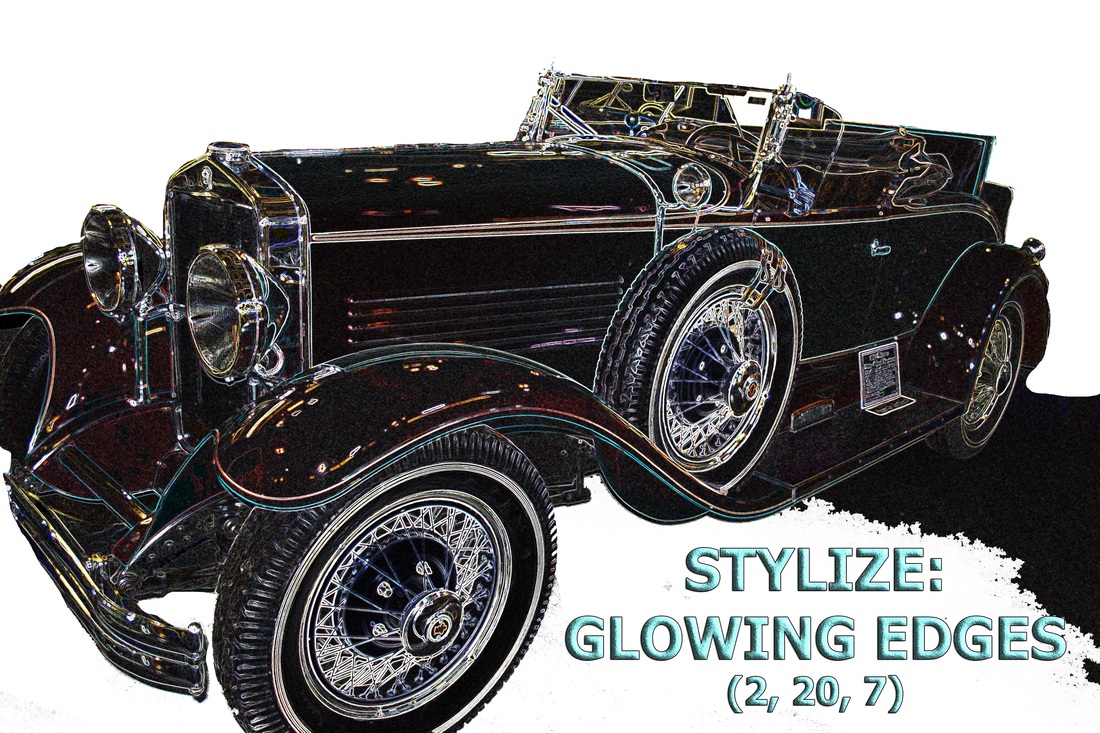
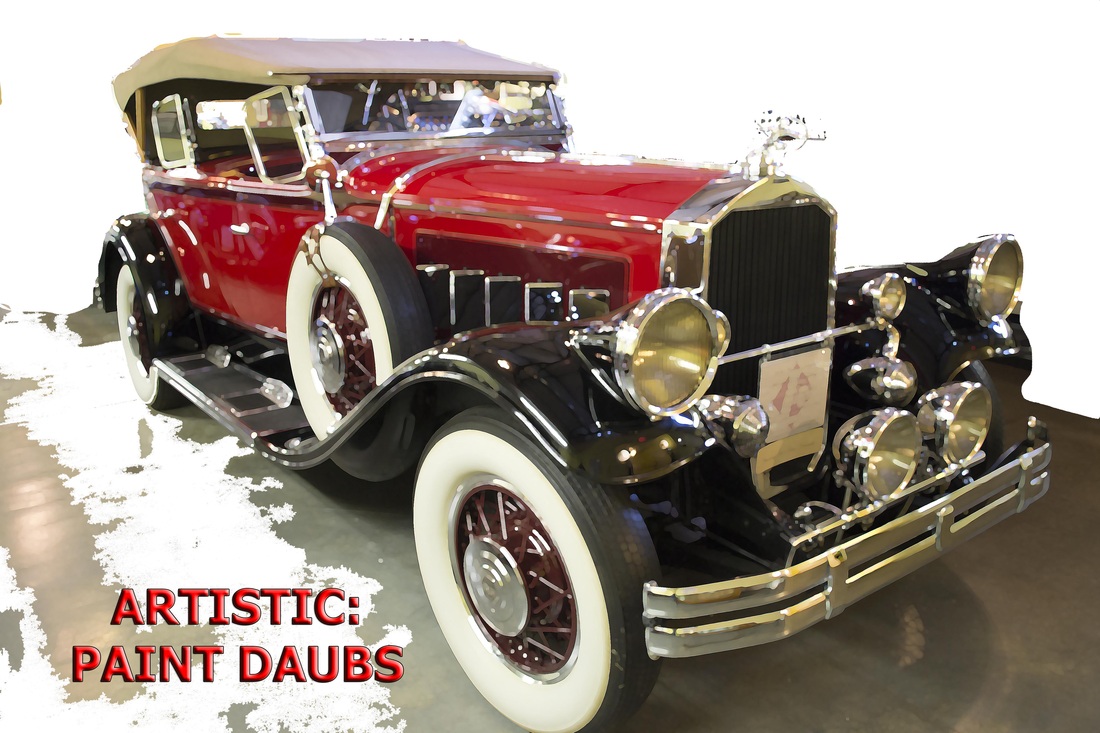
On New Year's Day, I got to go to the LeMay Car Museum at Merrimount (the one in Tacoma) with my wife, daughter and our niece. I brought my camera in hopes they would let me take some photos. They do, so long as you aren't going to be selling the images. They even allow you to use your flash. There were so many cars I ended up taking hundreds of photos.
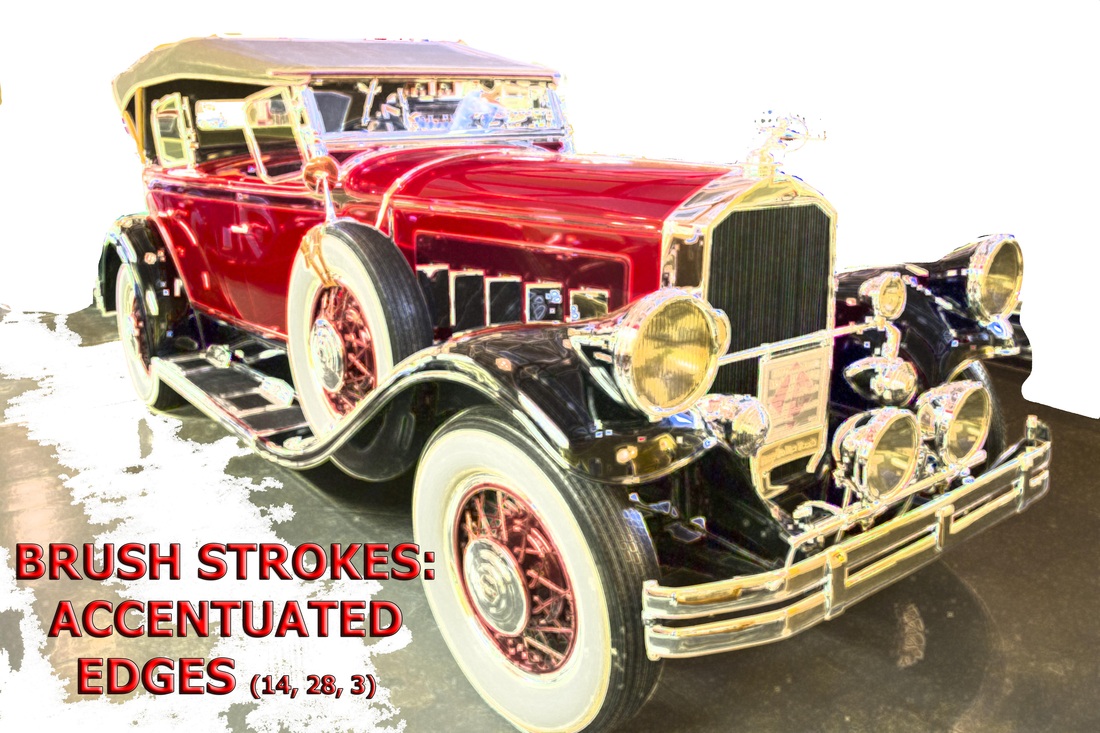
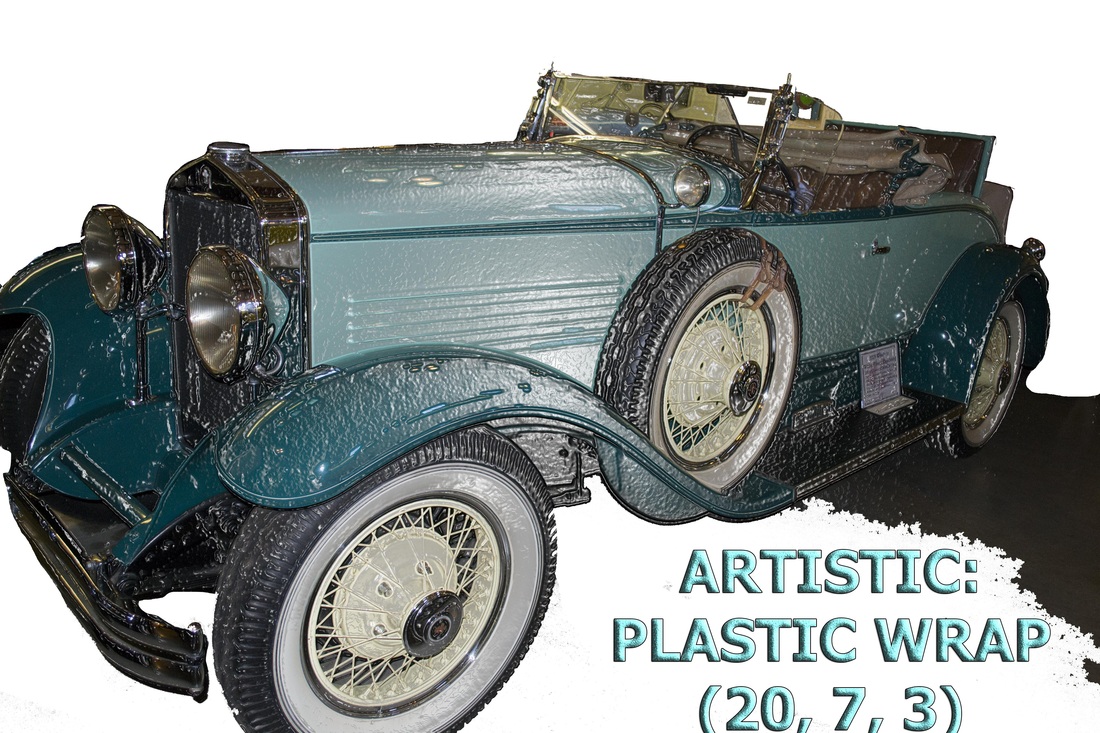
For the filters portion of the assignment I thought it would be fun to do a couple of the cars. I especially liked the plastic wrap look for the '29 Windsor. When I was a kid, Hot Wheels were my favorite thing and the effect gave the car the look of being new in shrink wrap. I also used the crosshatch filter for the Windsor; originally I had 11 total photos but even though I spent a lot of time trying to get that one the way I wanted it to look, in the end it didn't make the cut. I very much enjoyed this assignment!
Week 1 assignment January 4, 2012. Top: frog before, frog after. Below: lime before, lime after.
Photos adjusted by David Pierik using Photoshop CS6.
On New Year's Day, I got to go to the LeMay Car Museum at Merrimount (the one in Tacoma) with my wife, daughter and our niece. I brought my camera in hopes they would let me take some photos. They do, so long as you aren't going to be selling the images. They even allow you to use your flash. There were so many cars I ended up taking hundreds of photos.
For the filters portion of the assignment I thought it would be fun to do a couple of the cars. I especially liked the plastic wrap look for the '29 Windsor. When I was a kid, Hot Wheels were my favorite thing and the effect gave the car the look of being new in shrink wrap. I also used the crosshatch filter for the Windsor; originally I had 11 total photos but even though I spent a lot of time trying to get that one the way I wanted it to look, in the end it didn't make the cut. I very much enjoyed this assignment!