Web Tutorial Assignment:
Dealing With Hair (Big Spoon Graphics)
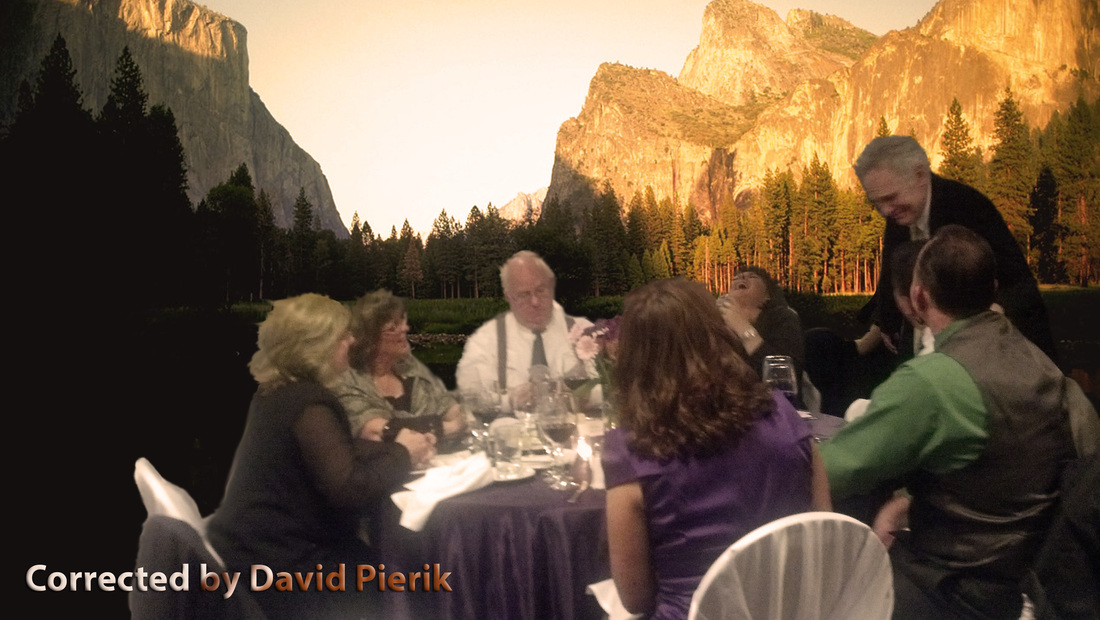
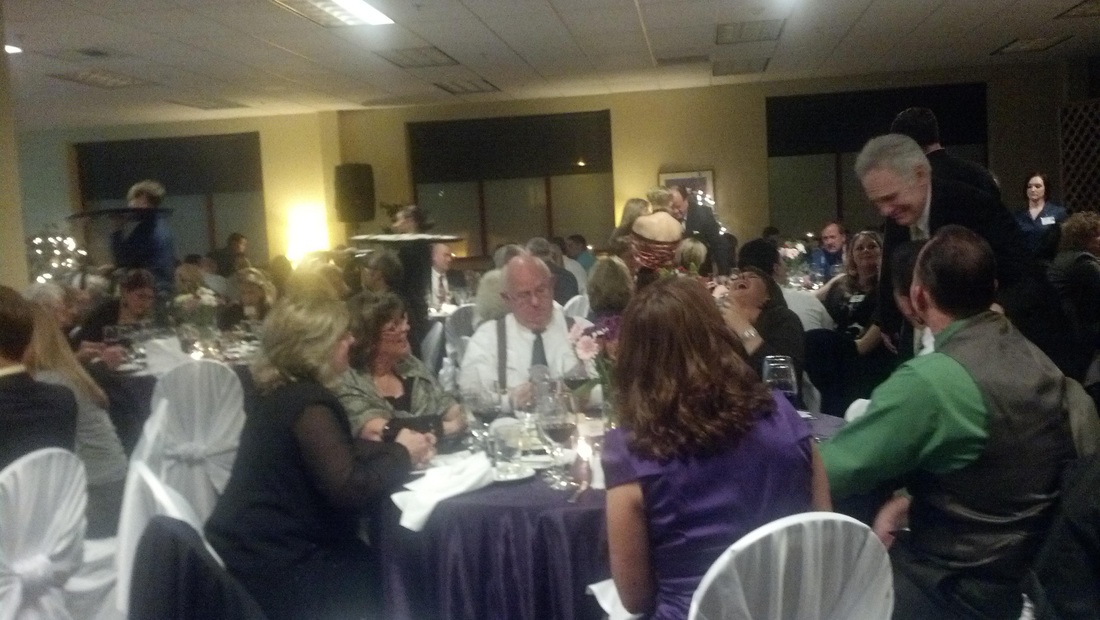
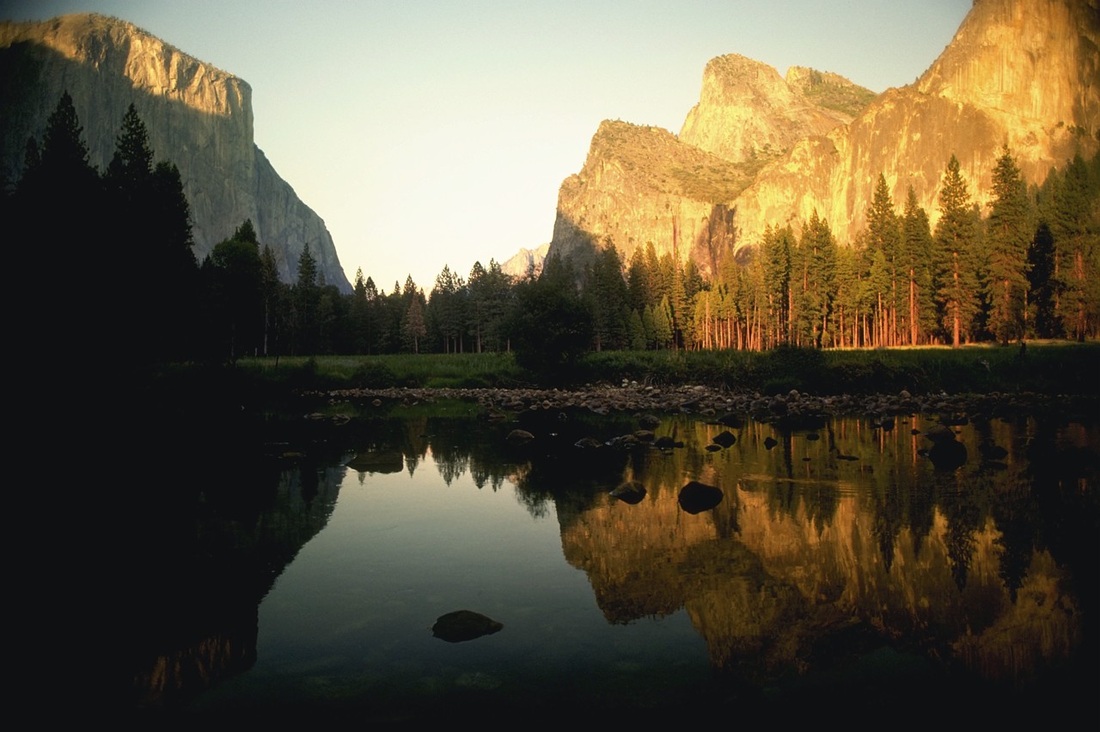
Left: my imaginary version of the Shelton-Mason County Chamber of Commerce Gala dinner. It's a photo (center) I took a couple of weeks ago on my cell phone. It was a wonderful dinner, but imagine if it had been outdoors! I found the image on the right from Microsoft Images (public domain) using "lake" for the search. No, I have no idea where that really is.
Trimming the people out, I could not get the hair to look realistic and there was a wonderful tutorial at Big Spoon Graphics (UK) about dealing with hair and I used the second part of that tutorial. It was very helpful. The smudge tool is super efficient for certain things like this and is fast becoming a favorite of mine. Here is the link:
http://blog.spoongraphics.co.uk/tutorials/handy-techniques-for-cutting-out-hair-in-photoshop
After I had everybody realistically looking like they were outside on a patio or something, it still looked a bit off. Playing with curves and adjustments I stumbled into the warming filter, which is what I should have used in the first place, and that did the trick of making the light look more realistic and less like the indoors. If you look at the chair in the middle foreground you can really see that.
Center photo and adjustments by David Pierik.
Merge with HDR
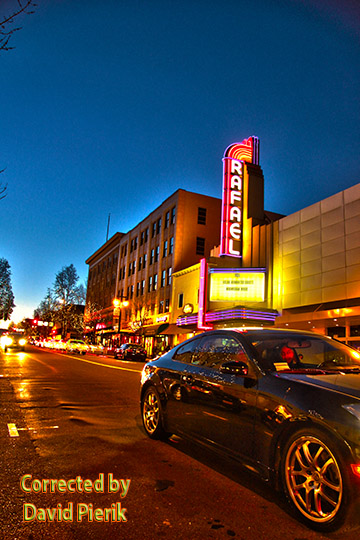
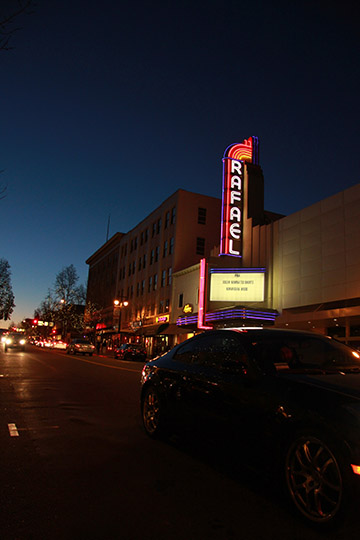
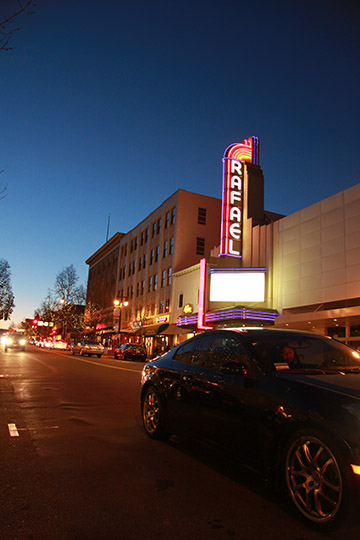

Once again I have learned about another entire set of photo editing tools. Photoshop's HDR (High Dynamic Range) allows you to combine the best elements of multiple images into one image. The corrected photo at top left is what I arrived at after doing the exercise using the tools to combine the best lights, darks and contrasts etc. of the other three images.
Combined with the other tools I have and techniques I've learned, I'm confident I could achieve similar effects by shooting photos using a tripod and multiple shutter speeds, though I also read and saw a tutorial that if any objects move within your HDR images you want to merge, that presents some additional challenges so I would recommend anyone to be aware of that in those cases.
Combined with the other tools I have and techniques I've learned, I'm confident I could achieve similar effects by shooting photos using a tripod and multiple shutter speeds, though I also read and saw a tutorial that if any objects move within your HDR images you want to merge, that presents some additional challenges so I would recommend anyone to be aware of that in those cases.
Camera RAW
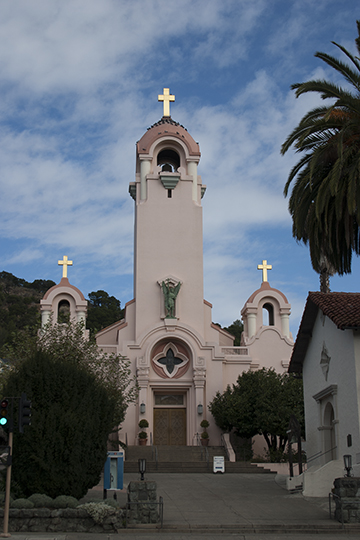
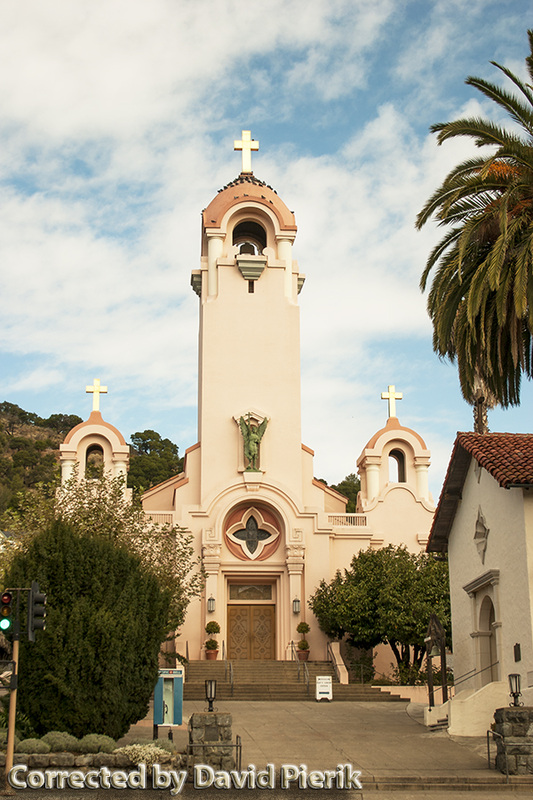
Photoshop has an amazing set of powerful tools for photo editing within itself, and just when you think you've seen them all there is an entire extra set of tools within Camera RAW. For me, I had played with these tools a little bit last term but the tutorial I worked on this week gave me a deeper understanding of what is possible. Adobe Camera Raw 7.0 in Photoshop CS6 has powerful tools that give you extra control of what is going on with your color, contrasts and many other image corrections in such a way that if you are starting with a good raw digital photo, you can get a lot more out of it than you might expect, without damaging or distorting your original.
The original photo came with my Classroom In A Book CD and I followed the Camera RAW instructions in the book as well as viewing the tutorial videos presented by my Digital Image Editing instructor from Peninsula College, before bringing the image back into Photoshop, where I couldn't resist making a couple of additional minor adjustments.
It's amazing what you can find in small details, like in one of those hidden picture games. For example, when I got in close on the above image in Camera Raw, I discovered that the little black blobs on the middle tower are in fact birds.
Fading Two Images Together
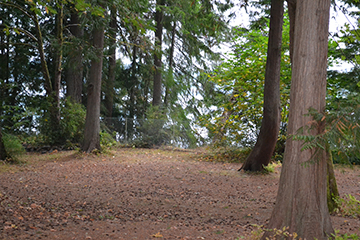
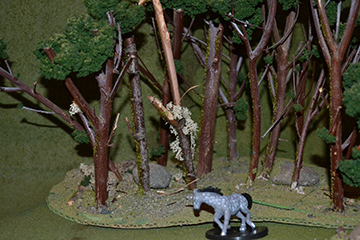
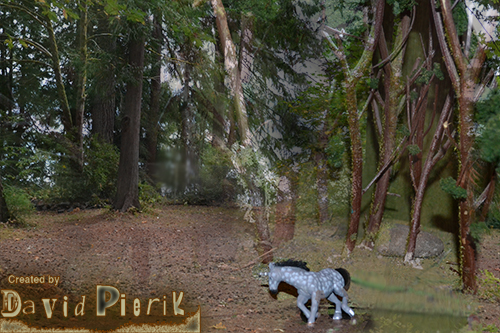
Both of these photos were taken by me, the real trees I shot at Walker Park in Shelton some time ago but did not use for my digital photography class last fall, and the one with the fake trees I took last week. It is of one of my miniatures and some terrain I made for fantasy wargaming. No, you won't believe in unicorns just from looking at this but it's still pretty fun. I used layers in Photoshop with the layer gradient tool as well as a layer mask, and played around with it until I got it to where it is.
Correcting Skin Tones
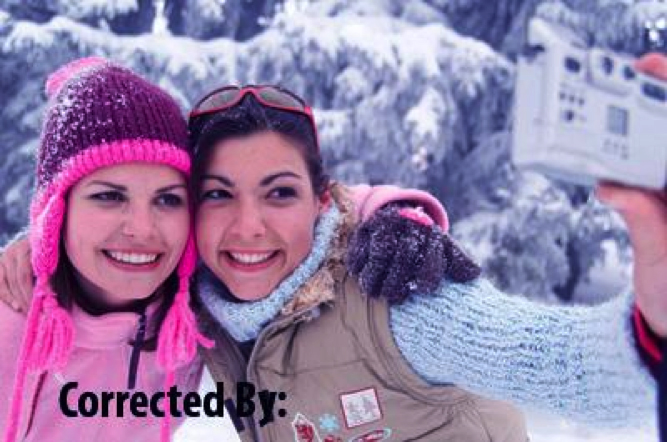

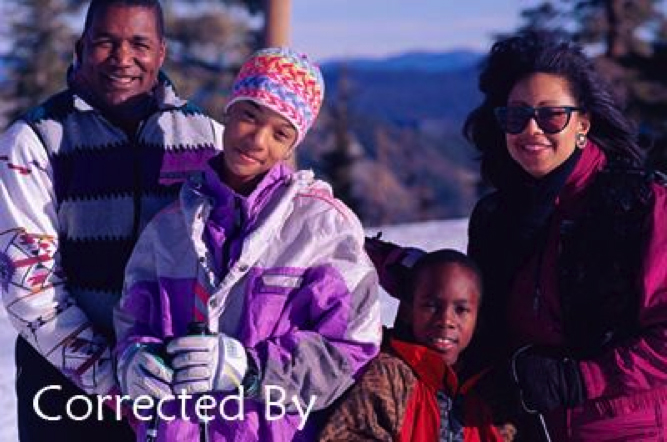
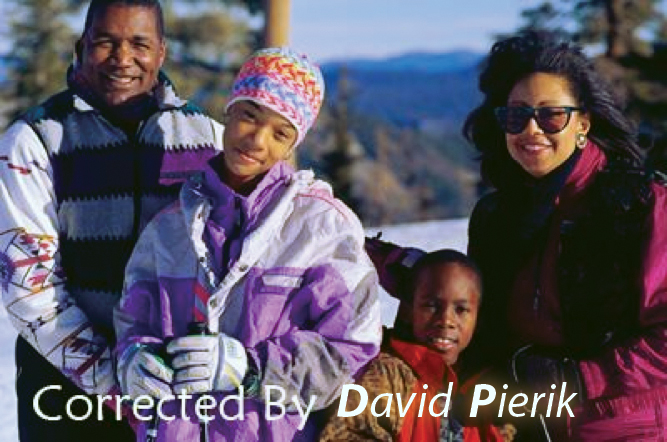
Before photos on the left, after (corrected) on the right for this exercise.
Girls before: C 5%, M 44% Y 7% K 0%
Girls after: C 2% M 22%, Y 26%, K 0%
Family before: C 40%, M 75%, Y 42%, K 13%
Family after: C 29%, M 71%, Y 75%, K 9%
Color is a strange and beautiful thing. Different light and sun fading of an old picture in a photo album, or various adjustments can have effects that can be either subtle or strong. Using the tutorial guidelines given, including the CMYK numerical normals for skin tones, I performed some color correction magic. My feeling was that on the whole the girls were too pink and the family needed more warmth.
The adjustments look subtle and simple but the truth is there are many steps, and as I anticipated there is a lot of trial and error in this process. In the end, I chose colors that were as vibrant as I could get and still look natural. Also, not knowing what the actual original colors of the clothing were, I used the backgrounds to help guide my color balances somewhat, though the focus was obviously on the skin tones themselves. After I made the changes I changed the images back to RGB before posting them here.
